Wederom mijn excuses voor het plaatsen van deze thread in het engels
Groetjes
Chris
Fitting the library
My wife and son are real booklovers, she has been collecting books for a long period and in her collection she has a large number of very rare and collectable examples
I like especially the leather bound ones, as they look very distinctive
So when we did the house refurbishment it was a given that we were going to have a library, a place to show off her books, but also a place to relax and sit down to read a book – for me just a place to sit down and read the Sunday paper.
So the room will have no TV (probably the only room in the house without one) but will be hooked up the Nuvo sound system for nice background music
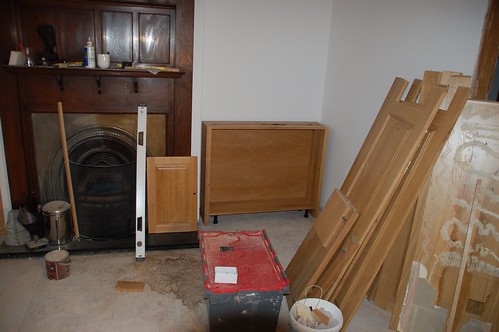
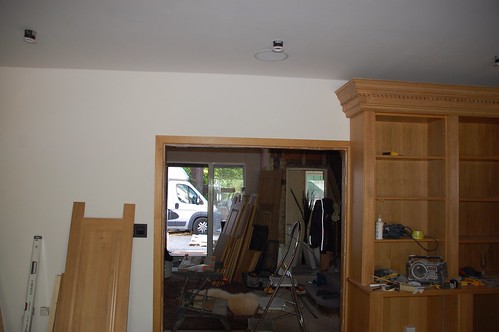
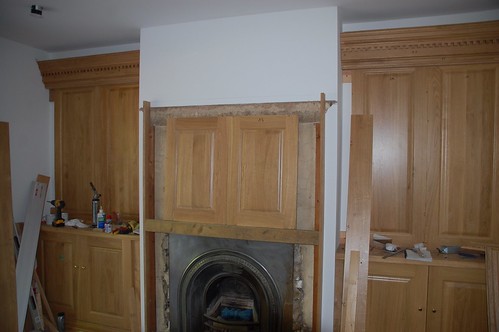
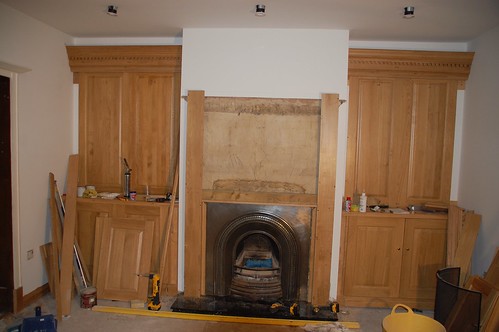
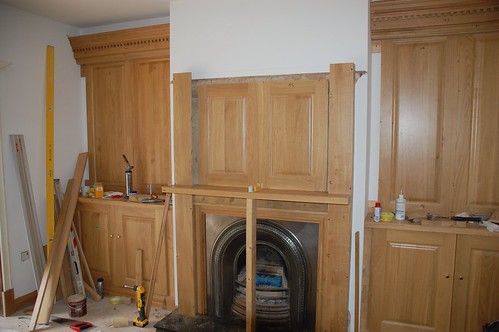
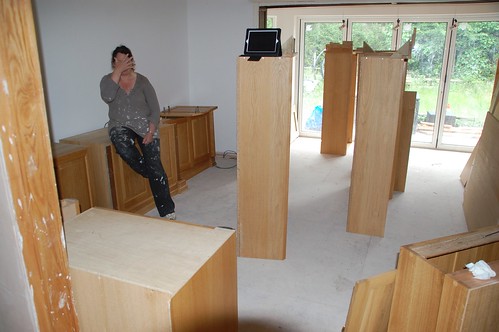
So my wife has been looking at ebay for about 2 years for a suitable library, one came up about a year ago, it came from a house in London that got refurbished and they were selling of the units together with 18m of wall panelling, all oak, so a truck load later it all was unloaded in my lock-up ( the garage of my mother in law who lives just 2 minutes away from me. So 2 weeks ago I started to fit it all – sounds easier then it is, but is it
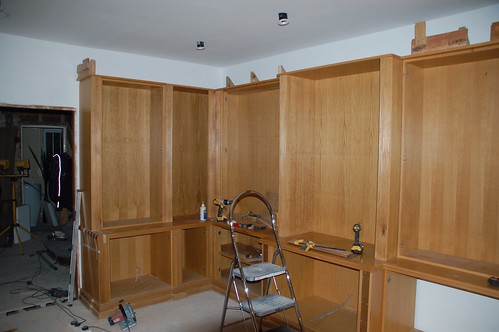
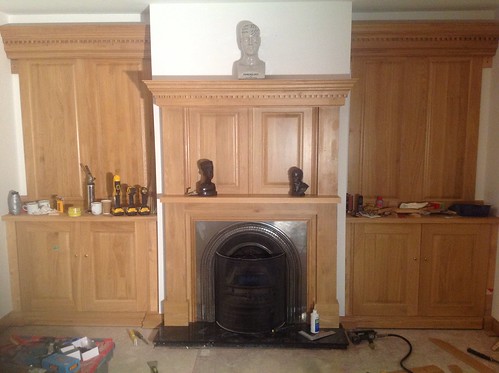
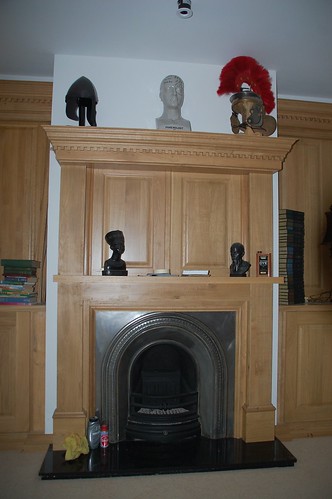
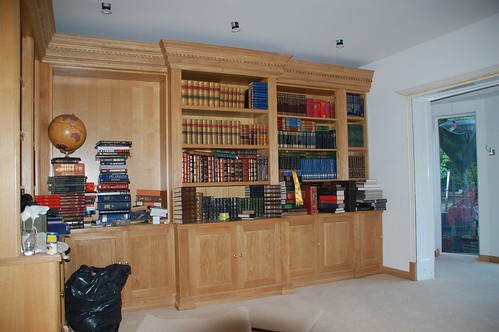
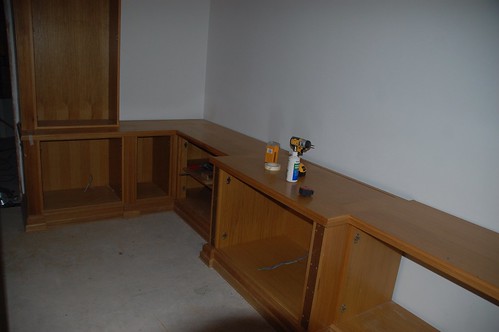
This is what we bought

Untitled by mcluma, on Flickr
Untitled by mcluma, on Flickr
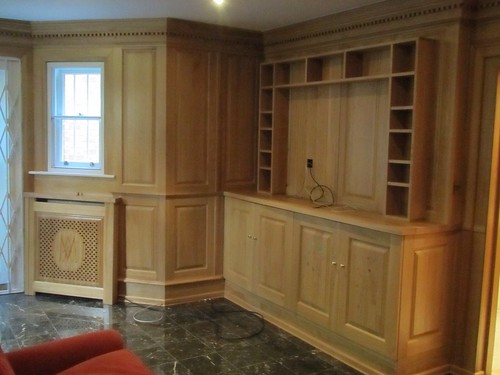
Untitled by mcluma, on Flickr
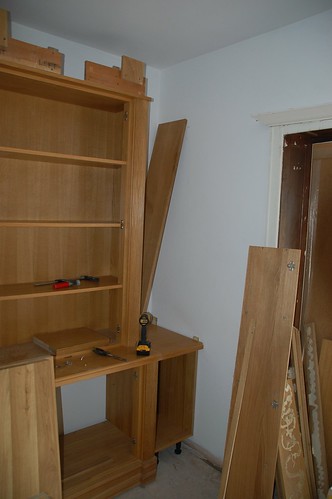
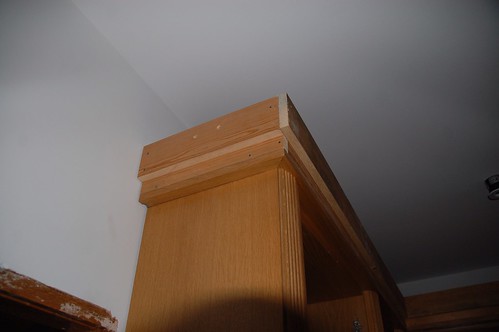
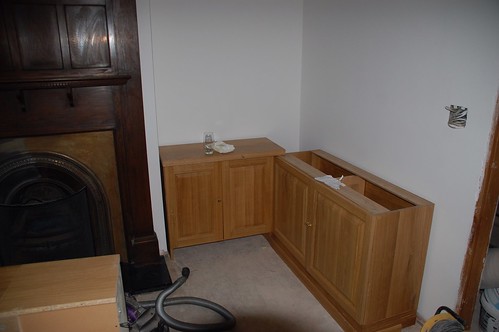
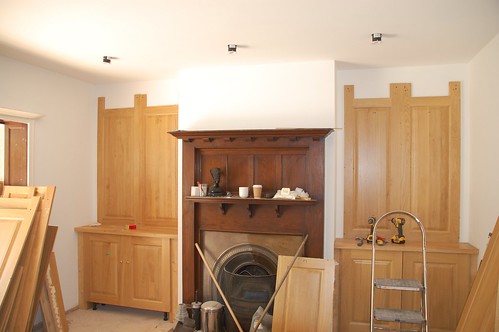
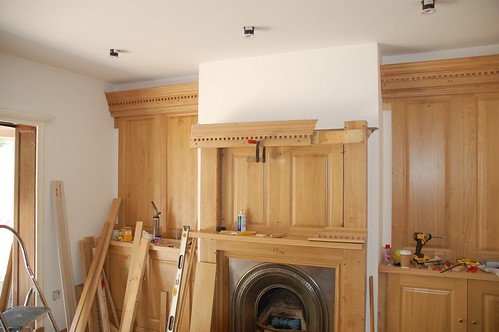
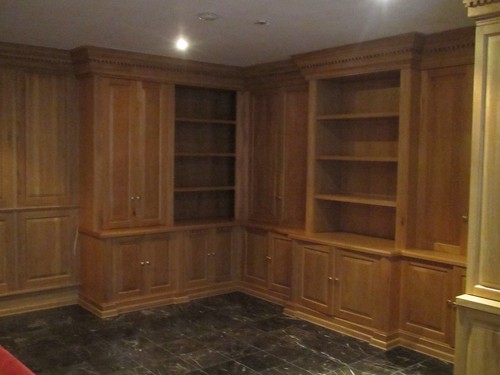
Off course the room it came from was not the same size as it was going into, neither was the shape the same, so it needed some changes to the layout. The best thing about quality cabinets is, you can take them apart and change the configuration – without breaking things.
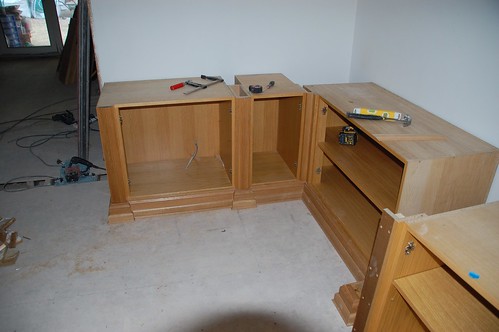
We started on the left. This run was to long by about 300mm and would block the entry to the room – so that is not going to be, luckily the unit was a 600 unit so it was easy to shorten that by 300mm

Untitled by mcluma, on Flickr
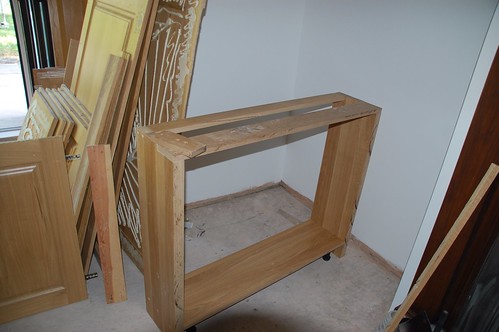
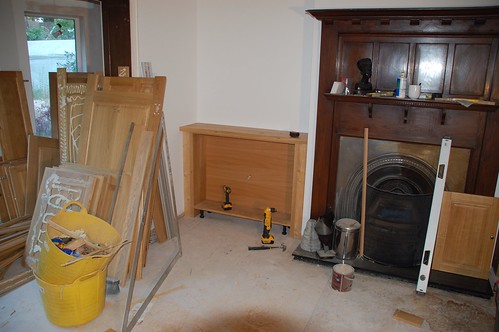
Don’t despair love we can make this work
Untitled by mcluma, on Flickr
Like I said, we can make this work, shorten the base, and shorten the unit – fits like a glove
Untitled by mcluma, on Flickr
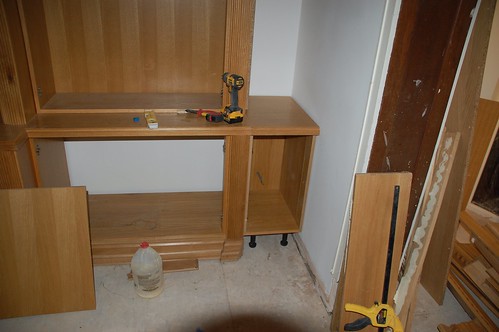
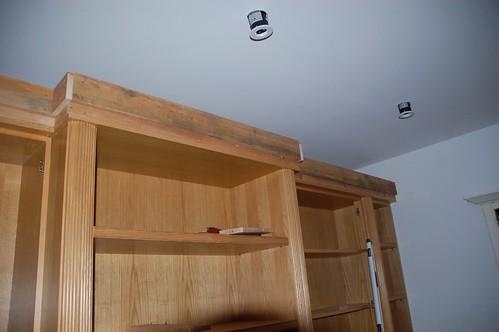
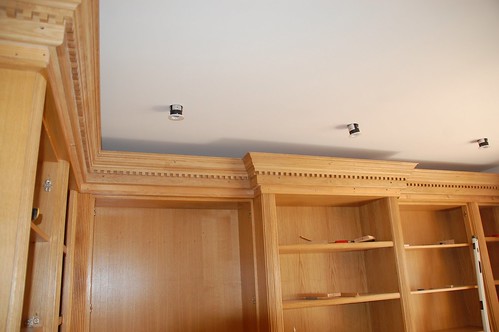
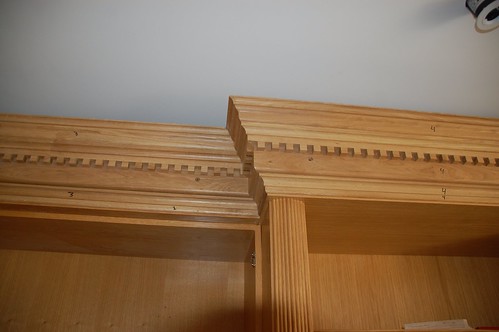
So we continue the run around the corner and refit the counter top, which was to long as well, so I had to shorten that one as well by 300mm
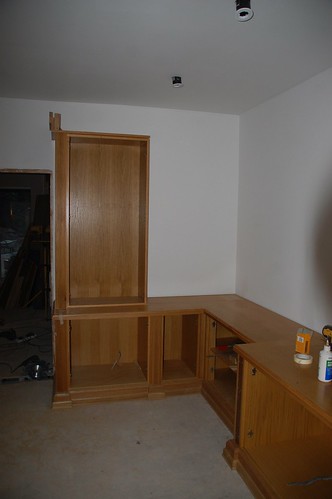
Here the first top unit placed (not fitted)
Untitled by mcluma, on Flickr
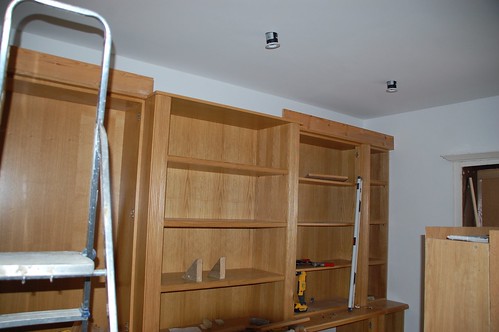
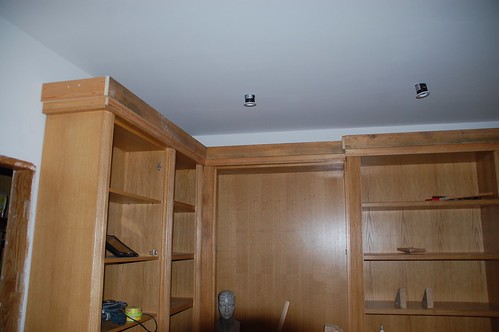
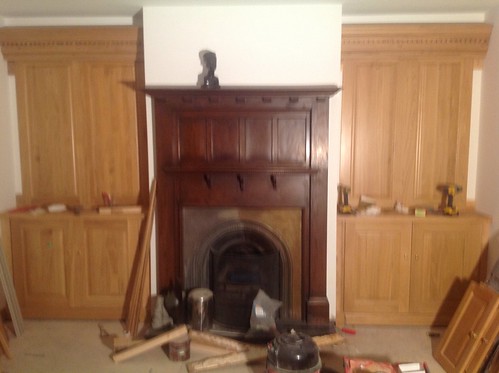
We also added electrics to the units (you never know and better done now then – later when it’s going to be much harder
Untitled by mcluma, on Flickr
Groetjes
Chris
Fitting the library
My wife and son are real booklovers, she has been collecting books for a long period and in her collection she has a large number of very rare and collectable examples
I like especially the leather bound ones, as they look very distinctive
So when we did the house refurbishment it was a given that we were going to have a library, a place to show off her books, but also a place to relax and sit down to read a book – for me just a place to sit down and read the Sunday paper.
So the room will have no TV (probably the only room in the house without one) but will be hooked up the Nuvo sound system for nice background music
So my wife has been looking at ebay for about 2 years for a suitable library, one came up about a year ago, it came from a house in London that got refurbished and they were selling of the units together with 18m of wall panelling, all oak, so a truck load later it all was unloaded in my lock-up ( the garage of my mother in law who lives just 2 minutes away from me. So 2 weeks ago I started to fit it all – sounds easier then it is, but is it
This is what we bought
Untitled by mcluma, on Flickr
Untitled by mcluma, on Flickr
Untitled by mcluma, on Flickr
Off course the room it came from was not the same size as it was going into, neither was the shape the same, so it needed some changes to the layout. The best thing about quality cabinets is, you can take them apart and change the configuration – without breaking things.
We started on the left. This run was to long by about 300mm and would block the entry to the room – so that is not going to be, luckily the unit was a 600 unit so it was easy to shorten that by 300mm
Untitled by mcluma, on Flickr
Don’t despair love we can make this work
Untitled by mcluma, on Flickr
Like I said, we can make this work, shorten the base, and shorten the unit – fits like a glove
Untitled by mcluma, on Flickr
So we continue the run around the corner and refit the counter top, which was to long as well, so I had to shorten that one as well by 300mm
Here the first top unit placed (not fitted)
Untitled by mcluma, on Flickr
We also added electrics to the units (you never know and better done now then – later when it’s going to be much harder
Untitled by mcluma, on Flickr